Saturday, December 10, 2011

Tim Holtz Mini

I was lucky enough to be one of the few to purchase, at quite an expense, a Tim Holtz mini kit from his Etsy shop. It arrived and I have completed putting it together. Above is the contents before assembly. It does come with extra supplies that do not get used in the album. There is extra tissue tape and letters.


Here is the finished album. It is quite small but adorable. It took just over an hour to assemble and aside from the tissue tape, I had no difficulty with it. The tissue tape was quite difficult to get started, it kept tearing to the side. Once I got it going it worked great. I recommend making sure it is going good before starting to use it on your projects.


There are several pockets inside with an assortment of pages. There are tabs with labels.


The pockets open from the top and are sealed on the bottom and sides using the tissue tape included in the kit.


I love this little project but definitley feel it was way overpriced.
Did I enjoy it: YES!

Would I purchase another from his Etsy: Tot Sure!

Only because I feel it was way overpriced for what it included. $55.00 for the above materials. Shipping was also expensive.

Tutorial: Fair, was only typed instructions. No pictures except on the cover page. It does include the measurement so you can easily recreate additional books.


I am a Tim Holtz fan and hope this doesn't come across otherwise.

It is an adorable mini album.


Thanks,


Saturday, December 3, 2011

Say Cheese!

After seeing the amazing camera album made by Anna, I knew I had to make one. Mine is not as detailed as hers but I still love how it turned out.
The album base is made from an Accucut die and you can buy them from me here under die cuts.

I had lots of die shapes that I could use for this album - several filmstrip pieces, one from Sizzix, one from Tim Holtz and one from My Favorite Things.


The front of each page is embellished so that the opening can still be seen. On this page the filmstrip acts as a pocket.


The back of each page has a flap that opens, like an old fashioned camera, where there is a photo matt for a picture.


The back of the flap is also embellished so they will still open. This one has a doily die cut as a pocket that holds a folder insert.


And I love I Am Roses flowers so I used them throughout this project.


I was able to stamp several of this BINGO cards when I was at a friends house scrapbooking. It is so adorable. I may need to search for this one and buy it. I added dangling tags and charms to each of the pages.


I hope you enjoyed seeing this project. I will try to get a video done, but may not be until the new year as I am working a lot and have to still get ready for Christmas.


Thanks,


Tuesday, November 22, 2011

Club Projects

Here are the three adorable tags we made in club this month.


The first is a stocking tag. I have to admit during the making of this I had a two year old moment. Half the class had these beautiful Glimmer paper snowflakes to decorate their stocking with and the rest of us had the holly leaves. Well, when I found out I didn't have a beautiful, sparkly snowflake I blurted out " well, that's not fair" it was too late it was out of my mouth and the whole class heard. I felt so silly but I really did want a sparkly snowflake and not holly leaves. It is an adorable tag though.


So this is the next tag, a sweet little angel. She is made using an assortment of Stampin Up Punches.


Here is the last tag. This tag everyone got to use some glimmer paper. See how pretty it is. We tore just a small piece and some white paper and made the hills, added some punched trees and voila another fun tag.

I always enjoy club. Thanks Irene for the great projects and sorry for being such a two year old. (but the glimmer paper snowflake was really pretty)

Thanks for stopping by,


Saturday, November 19, 2011

Christmas Planner - Different Version

I created a slightly different version of the Christmas Planner. You can view the video below.


Thanks,

Tuesday, November 15, 2011

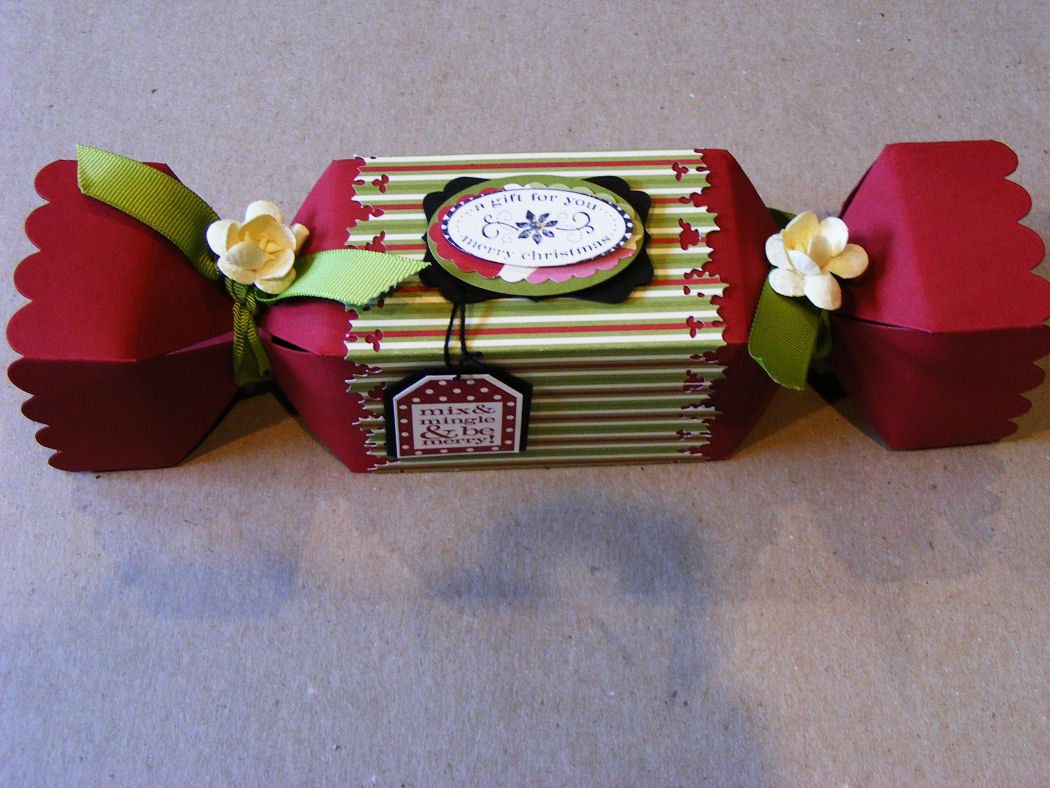
Love My Cracker Box Die

I am loving all the cute boxes I can make using this one die. It is a good size and is so versatile. Here is a Christmas Box version. They are easy to assemble and fun to embellish. The possibilities for this die are endless.

You can get these die cuts from me by going to my store at

http://dcands.ca

LoveIt! and it has been quite popular with my customers.

Thanks,


Saturday, November 12, 2011

Cracker Box Birthday

Happy Birthday Sue,
I made her this adorable cracker box. I used Chocolate Chip cardstock for the box. I die cut a mini dress form and spool from the new Tim Holtz movers and shapers. I added ribbon and designer paper and gems to the dress form to make it look like a dress. Then added some flower accents.

The sentiment is from My Favorite Things and the Happy Birthday is a Stampin Up stamp. I added faux stitching to the outside of the label, which is also a Tim Holtz die, Labels I think. The box ends are tied with some Stampin Up Baja stitched grosgrain ribbon.


I added some black crochet cotton to the die cut spool to represent thread. Added a flower and a heart shaped button as well.


I love how it turned out. I filled it with an assortment of candies. I hope she liked it....she loves to sew.


If you want to know how to make your own cracker box or buy ready cut cracker boxes check out my store here.


Thanks


Sunday, November 6, 2011

CHEER Word Book

I was asked to make this CHEER word book as a custom order, the lady was planning on donating it to a auction to raise money for Cheerleading. I hope it went well.


The colors were black, white and baby blue. I really enjoyed this color combination.


This is a fun little album to cherish your cherrleading memories.


Anyway, hope you enjoyed seeing this fun little project.


Thanks,