Wednesday, September 21, 2016

I Want One...


A few weeks ago, well actually months ( my time flies) I made a red purse for my daughter for her birthday. The neighbours little girl was here and said "I Want one". I then asked her when her birthday was and it was this month. I told he rperhaps she would get one for her birthday.


Time was getting close now and the kids were finally back in school ( I get nothing done with the kids out for summer break) I chose a pattern and then actually decided on this pattern instead. I altered it slightly, as I typically do. It is a small clutch/over the shoulder style purse.


The pattern I used was from Blue Calla - the Gerbera Mini Crossbody Bag.
I did not do the gusset bottom.


Inside I did a small zippered side pocket and added a little dragonfly charm to the pull.


The back is pretty plain.

 I die cut some fabric into flower layers and added a rivet to attach to the outside for fun. The shoulder strap is removable.

She did get it in time for her birthday, unfortunately I was not there to see her reaction, but her mom said she liked it and so did she.

Have a creative day,
T

Wednesday, September 14, 2016

CASE of the Birthday Note Card


 My hubby asked me to make his mother a birthday card, so I went to Pinterest and said pick something out that looks like a card you would give her. He picked one similar to this. Of course I couldn't make it exactly, 1. I wouldn't have same supplies and 2. that would be unfair to make exactly to the original artist. I love his choice as it is a style I enjoy.


The sentiment is stamped in permanent Black ink. and then several hearts are added on pop ups to add dimension to it.


The tag is attached to the twine wrapped around the note page. A sentiment is also stamped in black permanent ink and another heart added to tie it all together.


I added sponged vintage photo ink around the edges of the elements except the hearts (oops).

Thanks for checking in,
T

Thursday, July 14, 2016

Little Red Handbag

I recently started making handbags. It is very fun to do and I have always enjoyed learning new craft things. This bag is for my daughter, when she found out I made a handbag for myself she stated she wanted one. I told her perhaps for her birthday!

 This handbag is my own design but was inspired by a picture of a bag style she sent to me. This bag is really not much like the bag picture but I was pleased that I was able to duplicate the handle attachment as it was quite unique. The inside has a recessed zippered closure.
 There are also slot pockets on one side and a side zippered pocket on the other side on the inside of the bag.

 The bag is a good size and had handles for carrying and also has a  detachable shoulder strap. The shoulder strap does not need to be removed as it can be tucked inside the bag and does not show. It has a firm bottom with bag feet as well.
 It is soft sided, but could easily be made rigid by the addition of a firmer interfacing.
 My favorite part of the bag was the handle attachment and being able to figure out how to duplicate it from the picture sample she sent me.
Here she is receiving the bag and she was in love with it. I have to say when I seen her using it I felt so excited, cause then I knew she really did love it!

Happy Birthday Jessica! Love Mom.

Thursday, March 3, 2016

Baby Boy Brag Mini


 Recently had a baby shower to go to and if I'm able I prefer to make a homemade gift. This was it for this shower. A sweet little brag book. I used Graphics 45 paper. and the size is 5" x 7" x 2" .


 I used various sizes for the pages.


I die cut half doily pieces using a Tim Holtz on the edge die, and tied some blue seam binding around the cover.

Inside the pages have lots of pockets and tags for photos and journalling.


The binding is a Tim Holtz binder ring and the pages were hole punches using the binder punch, also from Tim Holtz.

Was so much fun to make- love mini albums!

Thanks for stopping by and checking out this post,

Tammy


Monday, February 8, 2016

Visiting Teaching Handout for February 2016

Our sister's in our church monthly visits our sisters and present a spiritual message and check on their personal welfare. This month's is on Marriage is ordained of God. 
After reading  the message this is a handout idea that came to mind.
As a couple works individually towards the Lord, they also get closer to each other. This handout is interactive and shows how they achieve this. You can use this idea for your visiting teaching if you wish.
First I cut a piece of blue card stock in half longwise.

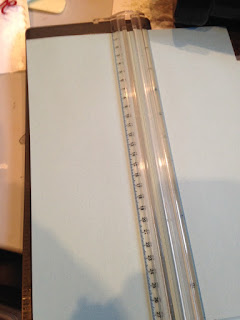
 Then I die cut a heart out where I wanted the fold line to be. I did not want to cut through the whole way so I positioned my cut plate only over the part I wanted to cut.
 I then folded at the bottom of the cut out.
 This left a space at the bottom back that was longer than the front, this is because the people attatched later kind of hang down past the edge.
 I then used a die to cut out figures representing a man and a woman.
 I copied the part of the message that went with his handout and pasted to the inside of the card
 On the cover of the card I punch 3 holes using a 1/16th inch hole punch as shown in image.
 I then punched two holes in each figure as shown. They are slightly angled on purpose as they will be sliding up the string on an angle.
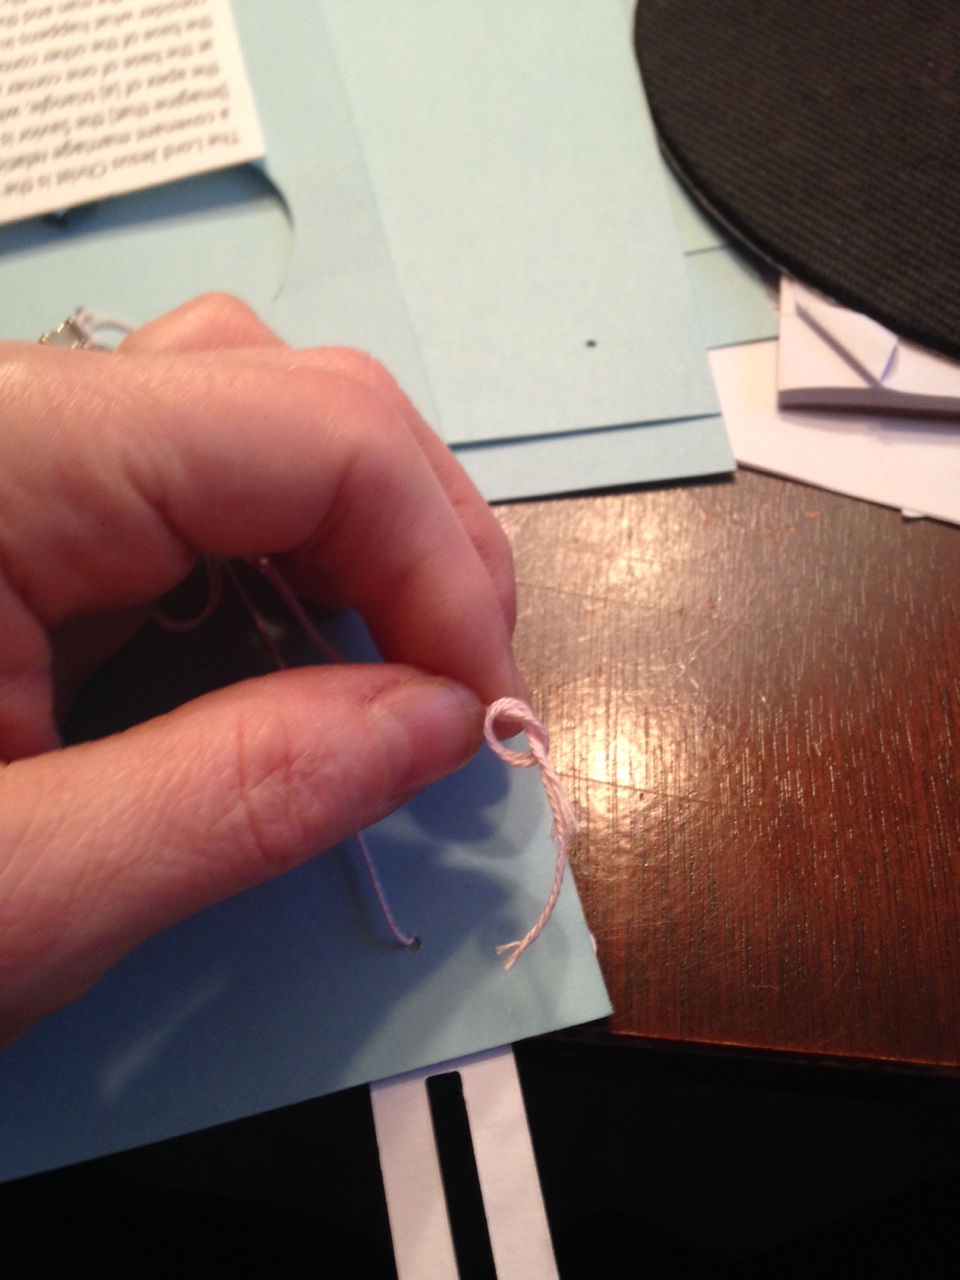
 I then cut string about 18 inches long and threaded through the top holes in a figure
 try to center mid way on string
 then thread top piece through hole on top of card
 and the lower piece through the bottom side hole on card
 turn card over and pull string end towards top of card trying to keep them even
 tie in a knot at the top hole as shown
 then pull leftover string towards bottom of card and knot off two pieces together
 this will be your pull cord to lift figure closer to the lord.
 I then made a small tab to put over to keep it on the side of each person so the strings didn't get tangled.

 Thread other figure onto card as done for first figure but on the other side of card, going through the same top hole.
 Finish off the same as for first string
 Turn card over and gently pull figures to the bottom of the card
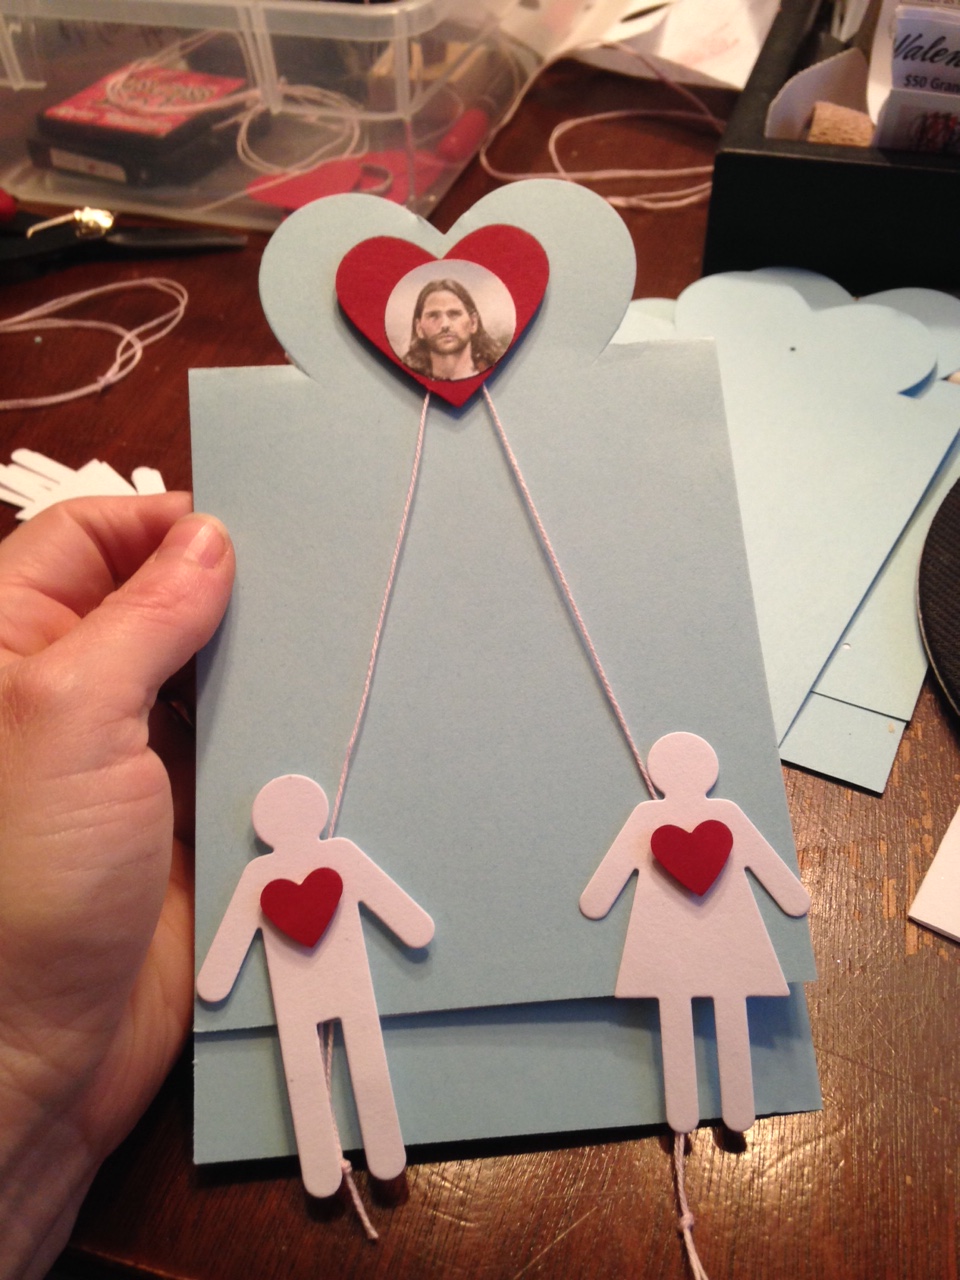
 I then used a small piece of pop up adhesive to attach a heart to each figure, being careful to NOT cover the string

 Then I printed a small image of the Savior , die cut it out with a circle punch and attached it to the front of a larger heart
 On the back of this heart I added several pop ups and then adhered to top of card, centering inside the die cut card base heart and being careful, again, not to stick to the strings.

 You can now pull on the strings and see the figures move towards the Savior and also get closer to each other.
 This is them both at the top
 To pull them back down turn card face over and slide knot back to the top.

 I hope you enjoyed this tutorial.
It has been a while since I posted,
Thanks,
Tammy