Congrats and thanks,


 Dream Create and Share taught to me....how to make this treat box using two SU dies!
  This is a close up of the sentiment tag on the side. I used stickles to accent the edges and the design on the ends of the flourishes. I did not have the magnetic movers and shapers from the mini to add a matt to this, but if I had it at the time of making it I would add a matt layer to the back of this sentiment. I have it now...it arrived on the second.
  I added some stickles also along the upper edge of the basket and around the handle opening. This is such a fun little box to make, and it is big enough for a variety of small gift or homemade sweet treats.
 Dream, Create and Share taught to me...how to make A Merry Little banner for Christmas!
 How cute is this banner? The letters swing and it is decorated on both sides.
 Here is the back
 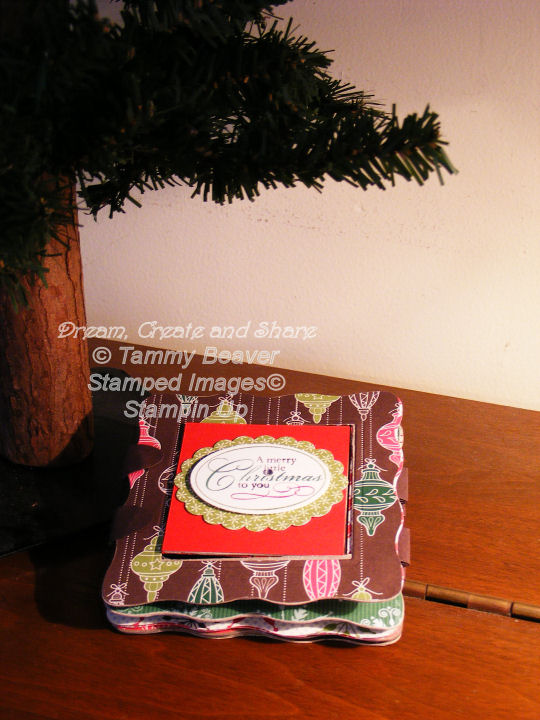 It folds up all nice and compact for storage.
 And fits perfectly inside the largest box from last weeks' tutorial. As always, this tutorial is only available until next week's tutorial is posted and is only $2.00. It is in PDF format and will be e-mailed to you within 48 hours, usually less than 24 hours. If you do not receive it in that time, check your junk folder and then contact me and I will resend.

 Dream, Create and Share taught to me...how to make some great little nesting boxes. Can you believe it is only 5 more weeks to Christmas? Oh my! Where does the time go? Anyway, these little boxes are perfect for so many things. Alone they fit inside of each other, but separately they each will hold various gifts that may be handmade or store bought, either way the packaging needs to be just right, it helps build the anticipation, and who doesn't want their recipient to be excited about a gift you chose especially for them?
 Each box is trimmed slightly different than the others, but they coordinate. Two have windows on the top.
 Have you ever wrapped a gift inside a gift? That is always fun to do, well you can do that with these if you want.
 Yup, that is another sneak peek at an upcoming tutorial. Next weeks actually. See how perfectly it fits into the largest of the three boxes, that is because I designed the box so that it would fit into the box. The other boxes were simply adjusted down from there.

